
 Great photos are key for catching attention, sparking interest and kick-starting engagement. Whether you want to improve your bullet journal Instagram photos or lure clients with great product shots, these five simple steps will help you do just that. 1. LightingNatural light is everything. Turn off overhead lights, as they create shadows and cast yellow hues in photographs. Find a window with filtered light (not direct sunshine) and set up there. I find the light to be the best between 10:00 am and 2:00 pm in my north facing window. You'll have to find your personal sweet spot.
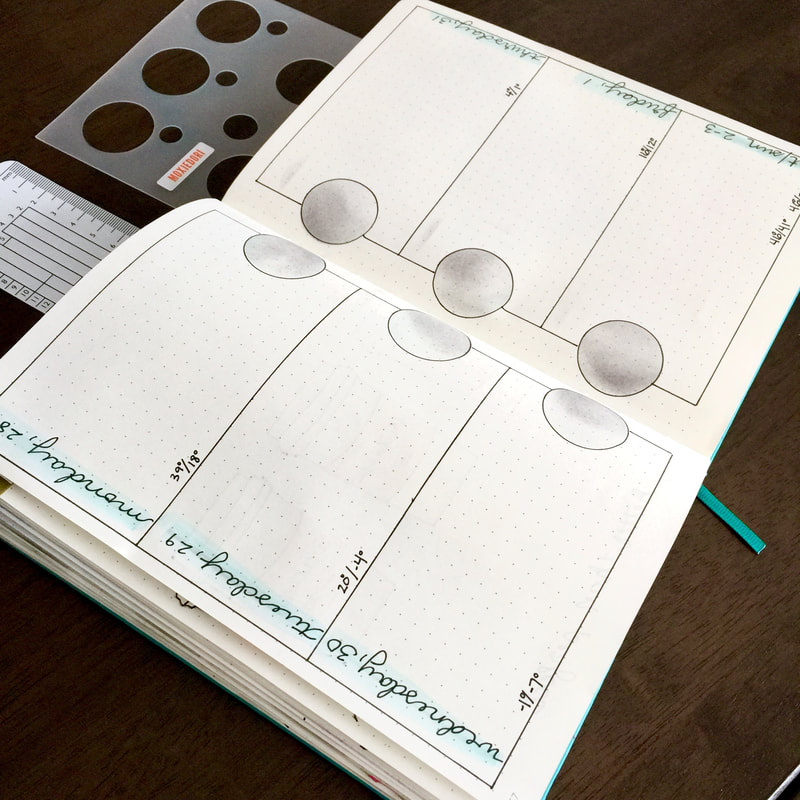
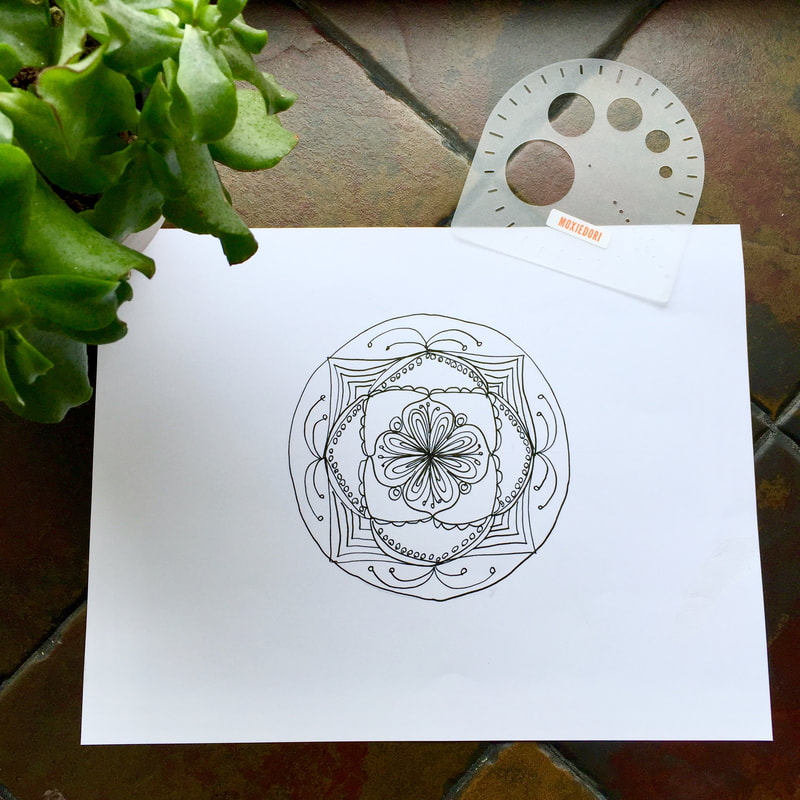
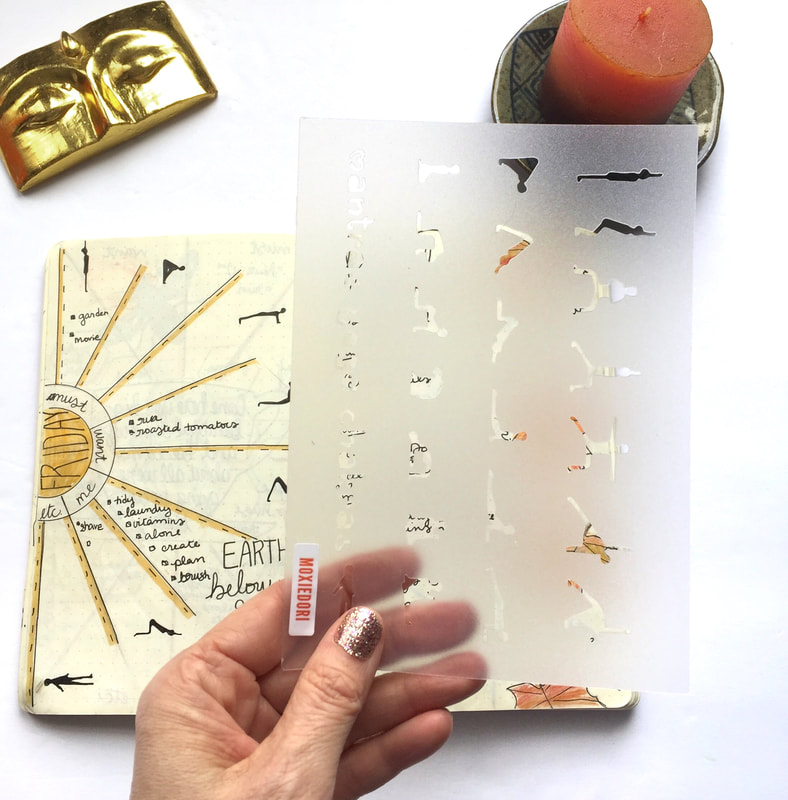
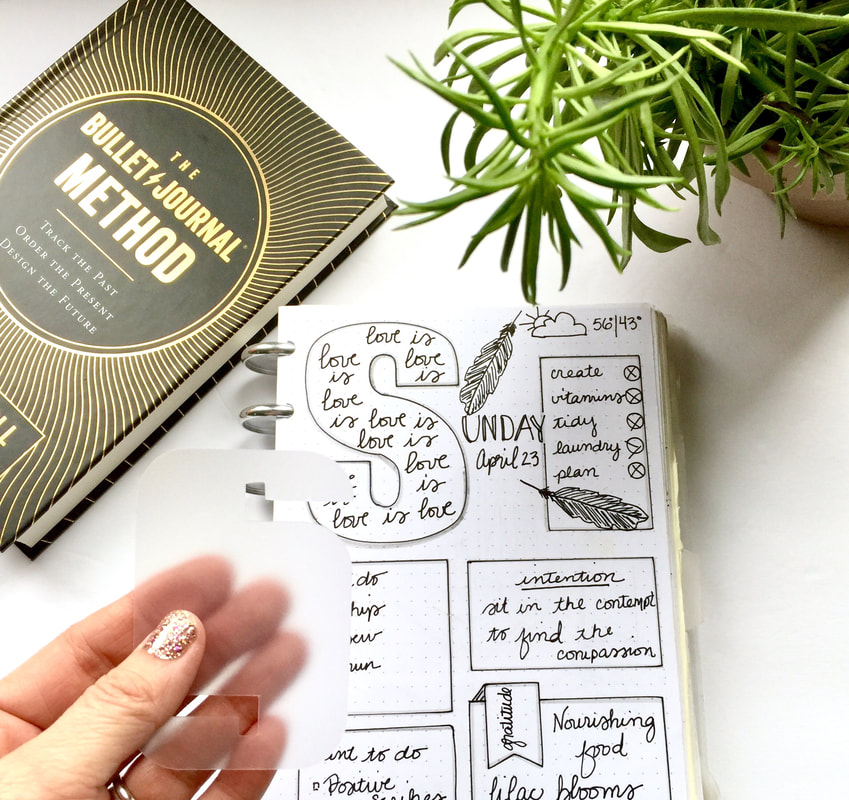
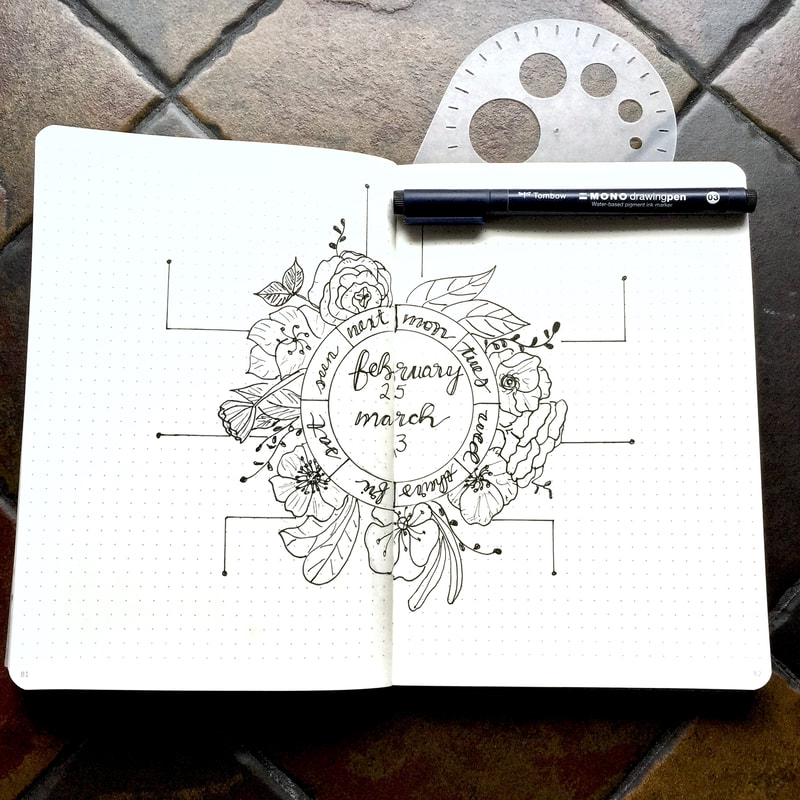
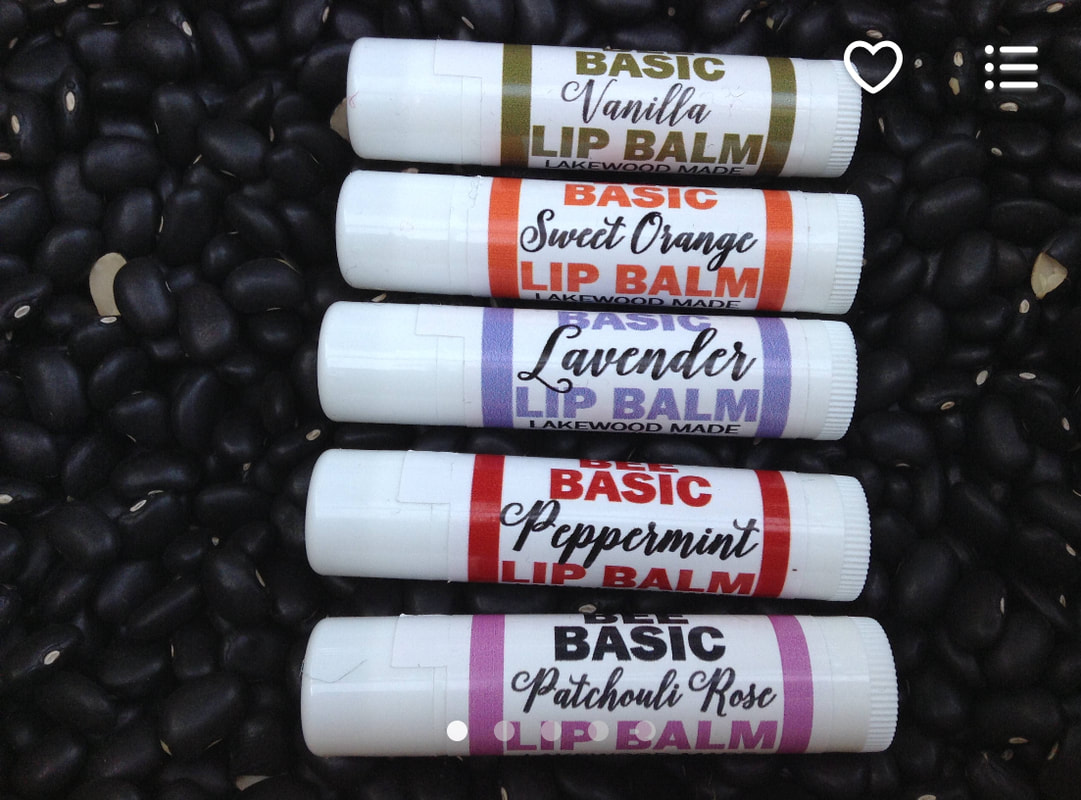
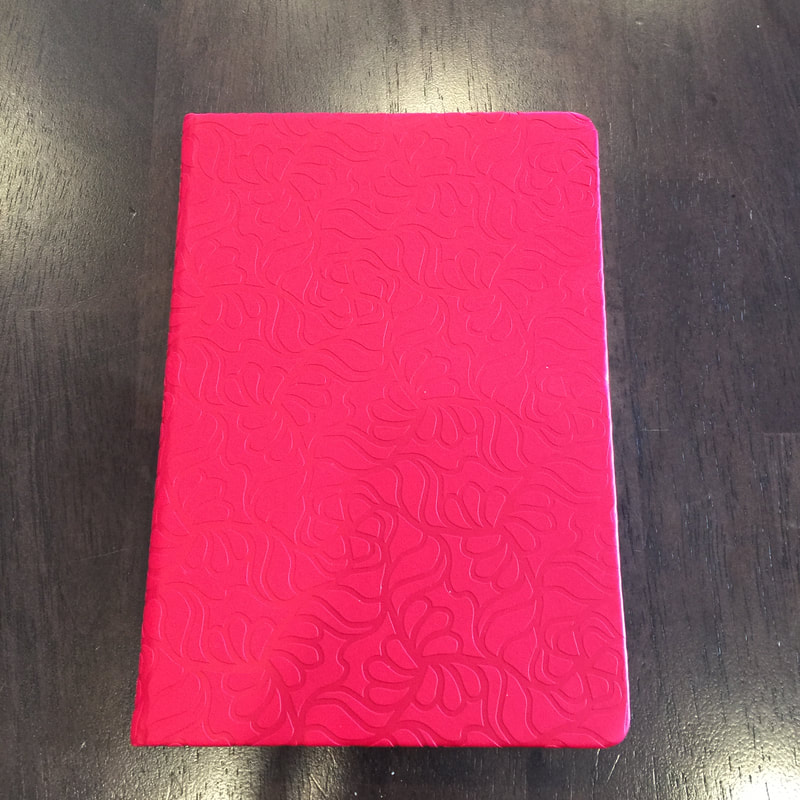
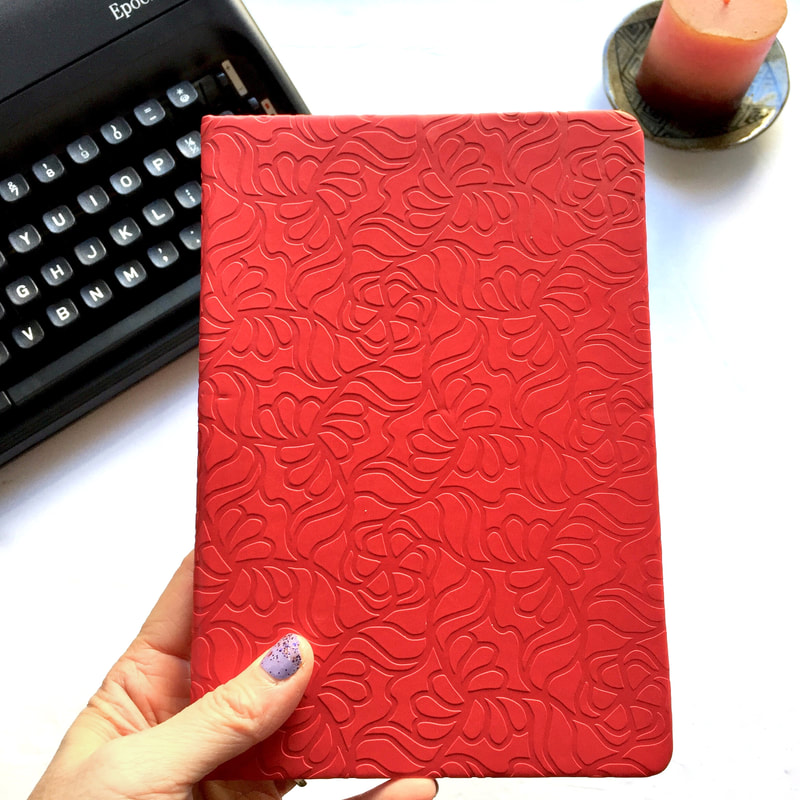
2. BackgroundIf you want to convey the color of your item, use a white background. I use a white foam board from the Dollar Store. If your item is mostly white and you want to set it off, use a dark background. I like to use a dark wood table that doesn't have a lot of grain to it as I want the focus to be on the bullet journal spread, the stencil and the journal rule.
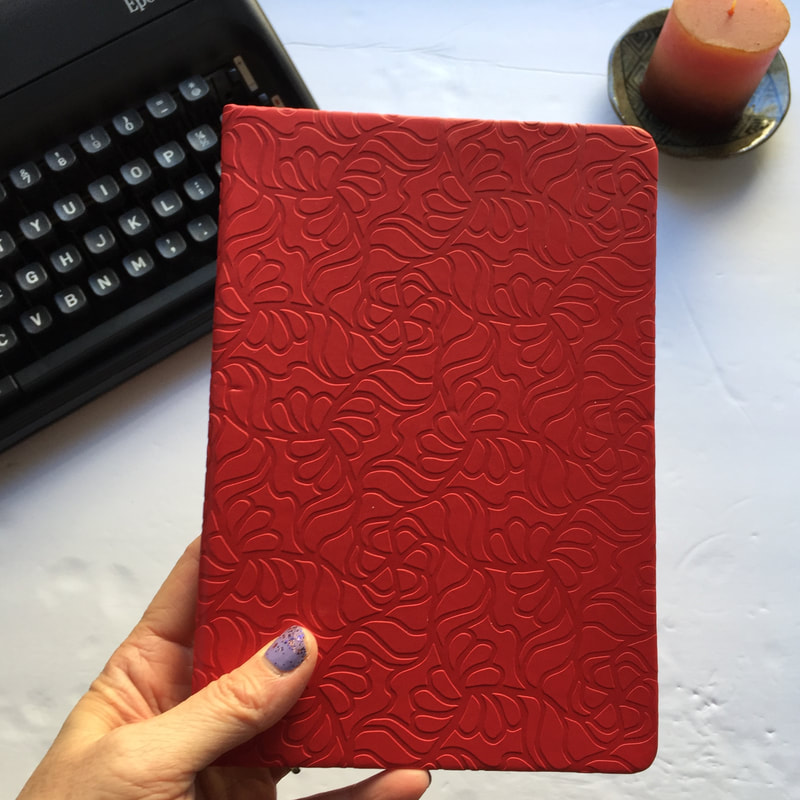
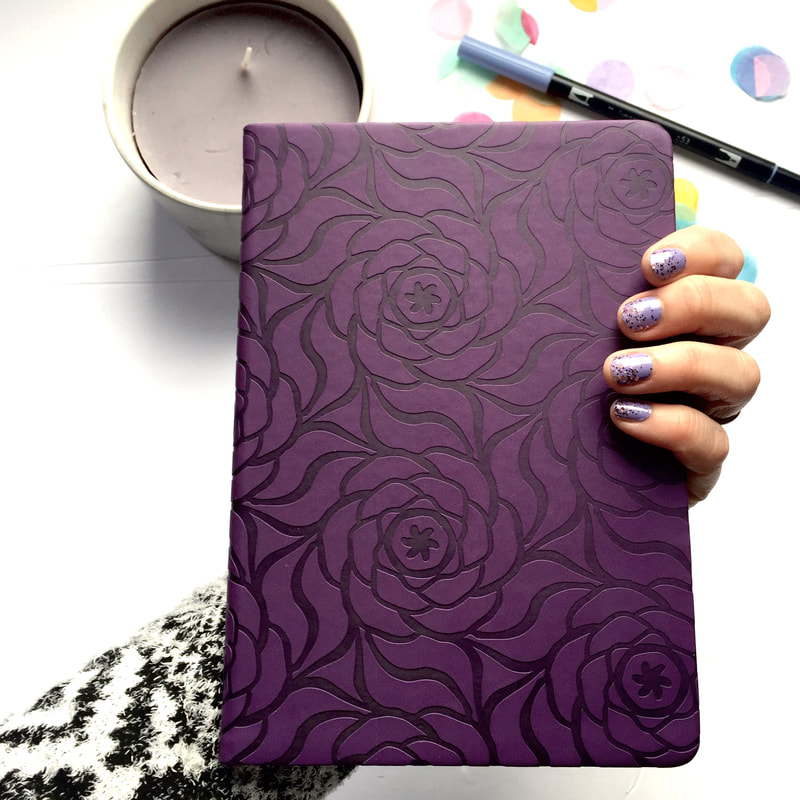
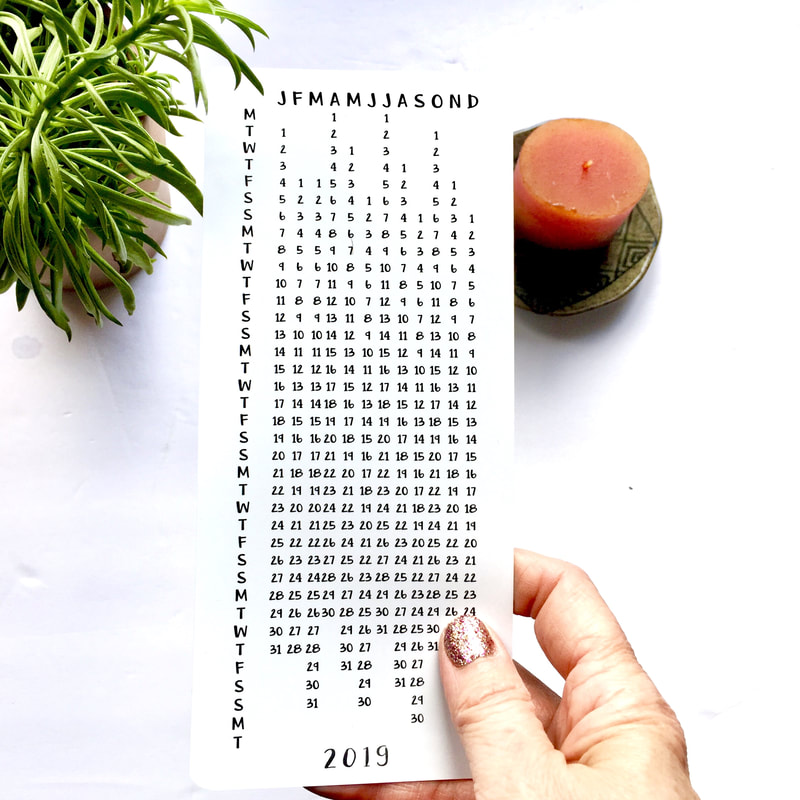
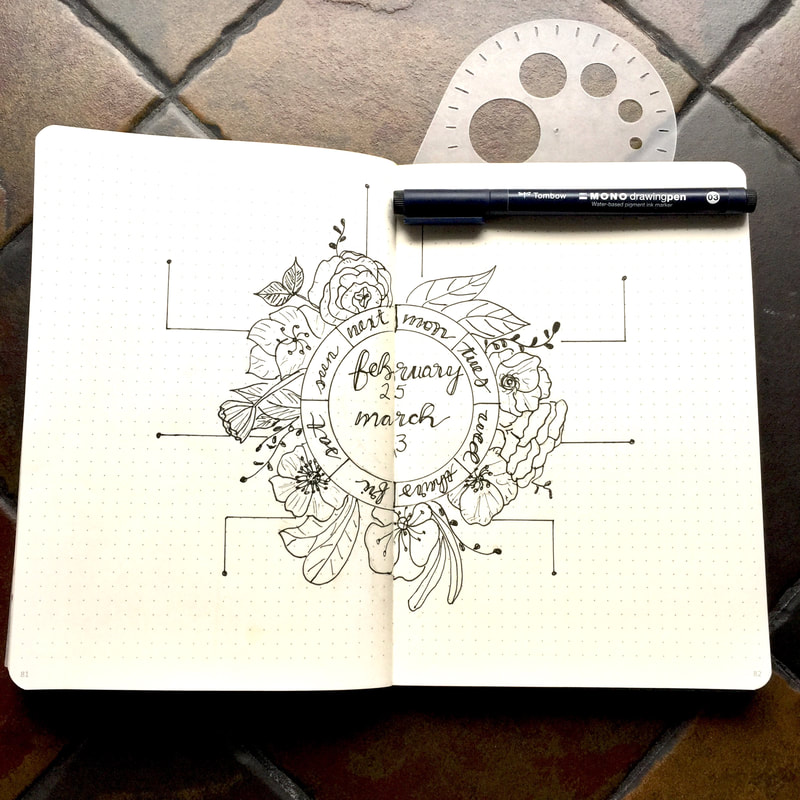
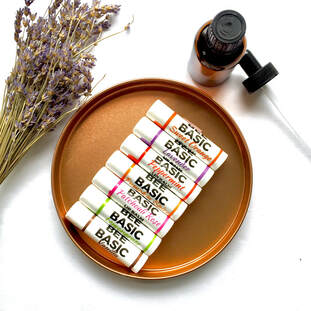
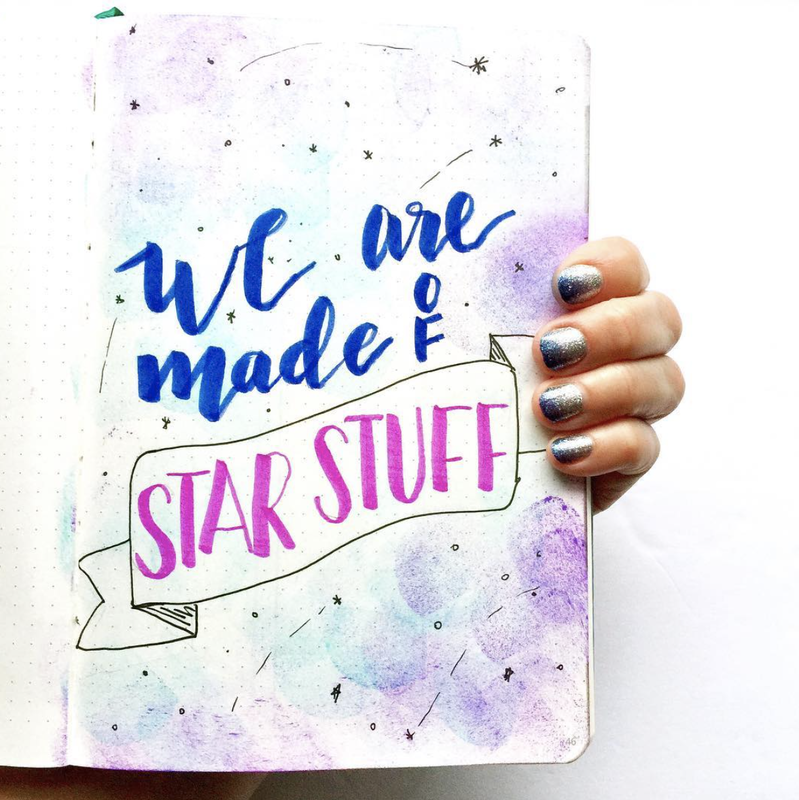
3. CompositionPut three things in your photos. Number one will be your main item of interest. It should go in the center and be in focus. Now add items two and three and create an upside down triangle with the three objects. The observer's eye will start at position 1, travel to either 2 or 3 and then back to 1. Then the observer's eye will travel to the opposite item and finally land back on item 1. This causes people to look at your main item again and again. Attempt to use items in positions 2 and 3 that tie in thematically and/or have a similar hue as the primary item. Finally, get your hands in the photo. Hold your item and take the photo from the angle and distance that would naturally occur during normal use of that item. Psychologically the observer enters the photo and they feel as though they are holding that item. I have noticed that photos with my hands in them get much more engagement on social media than traditional flat lays do. 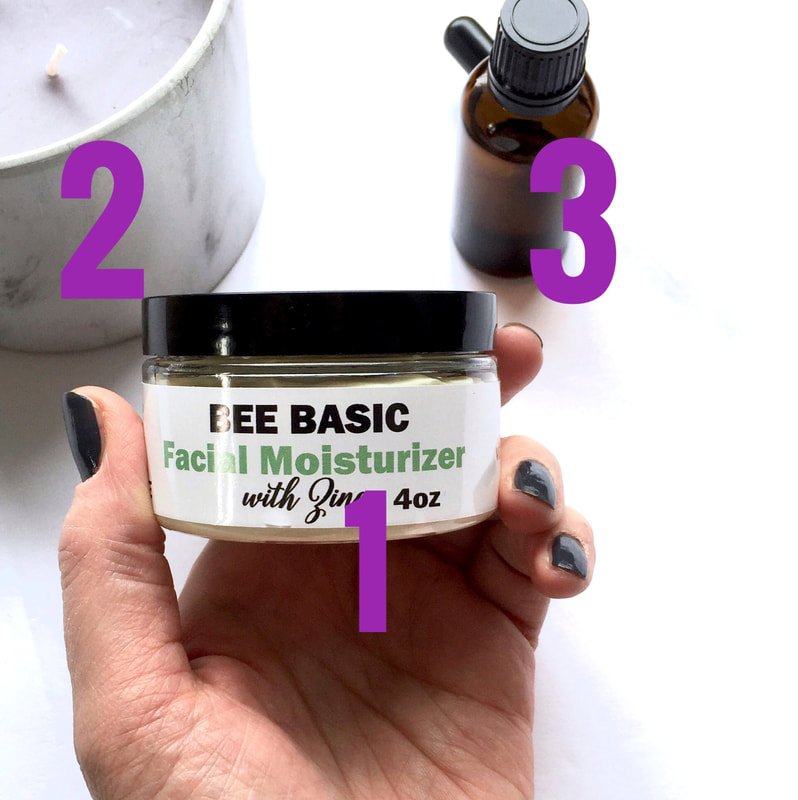
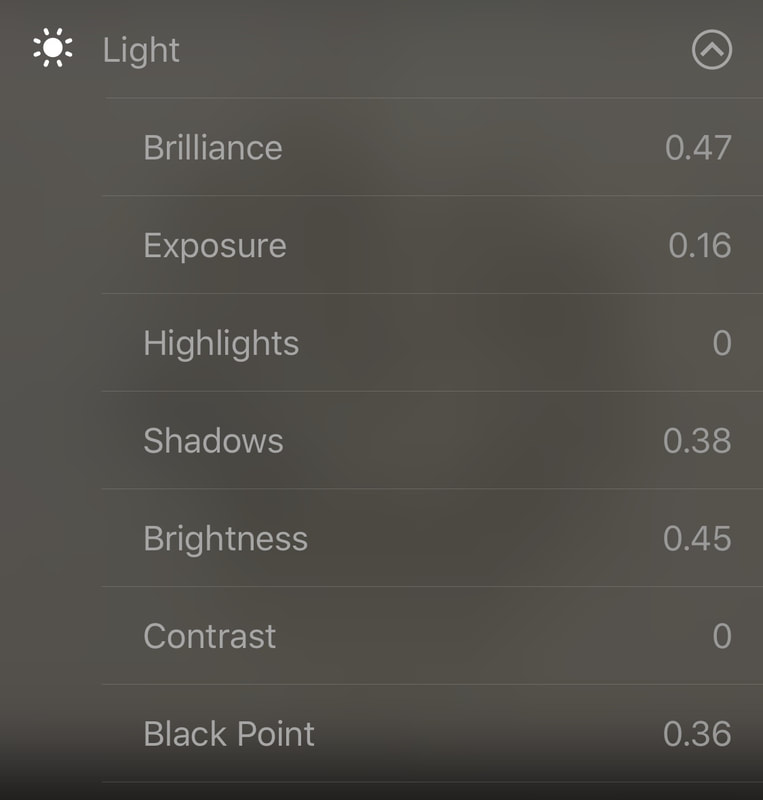
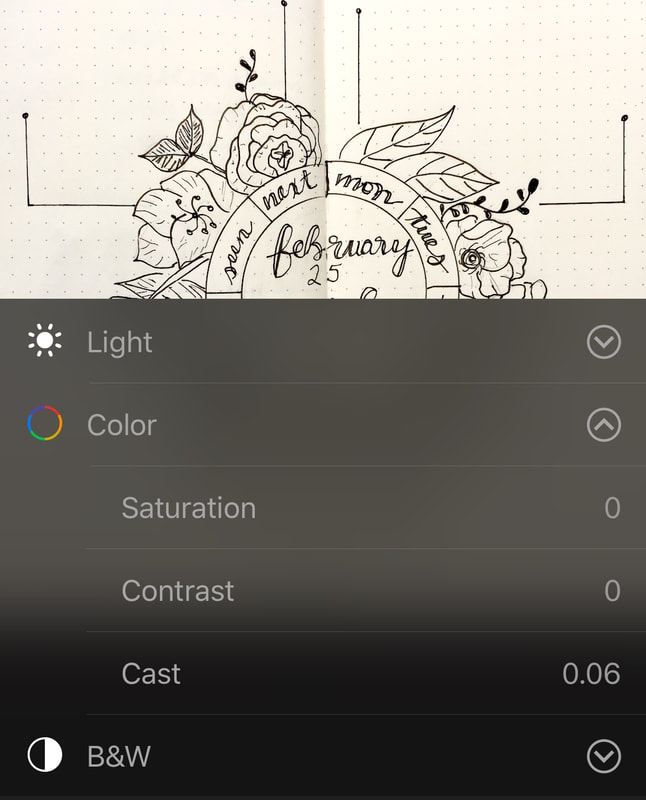
4. iPhone Camera EditMy first photo edit is on my iPhone's camera app. I always shoot in Square and crop if needed. When editing, I start by adjusting the Light. I almost always increase the exposure first. I slowly adjust the brightness and brilliance. At that point I go over to Color and adjust the cast. I then go back to the Light and adjust the shadows, the black point and sometimes the highlights.
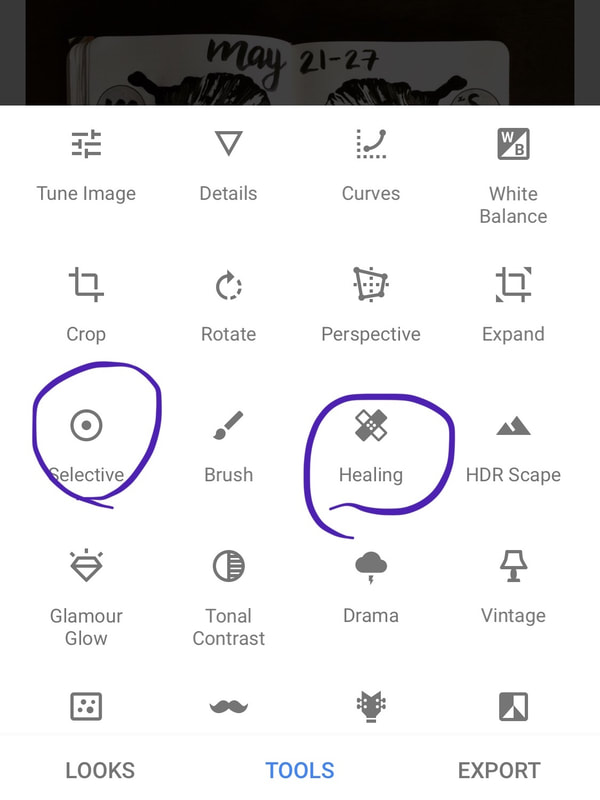
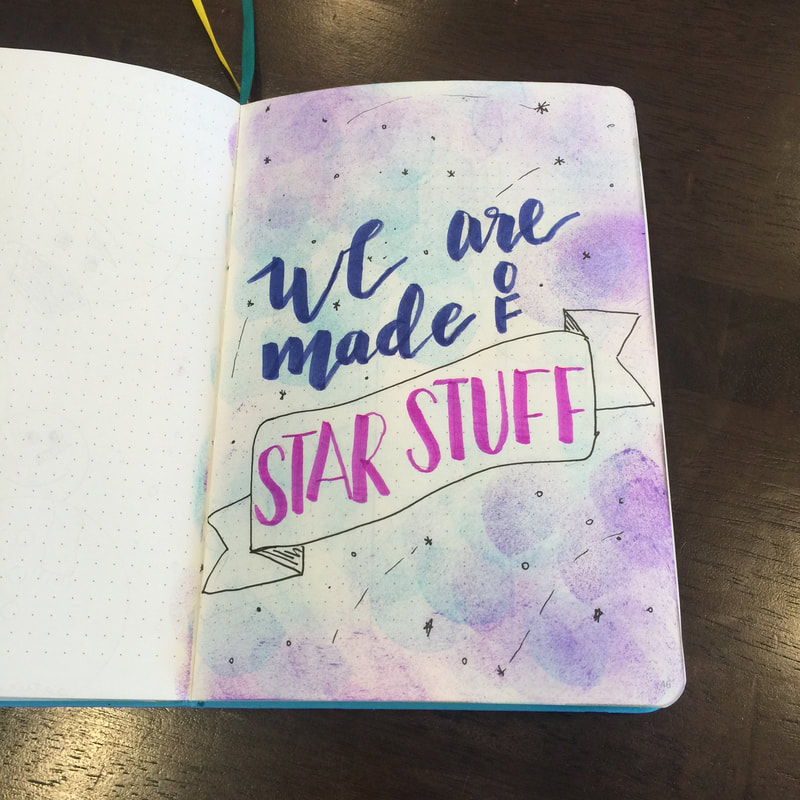
5. Snapseed EditI make my final editing touches on Snapseed. It is an amazing app and it is really easy to use. I resist using the "Looks" and head over to Tools. While I use Selective and Healing the most, I sometimes use White Balance to adjust the color of my bullet journal page. Selective allows you to choose certain points on the photo to adjust Brightness, Contrast, Saturation and Structure. Use the Healing tool to "erase" small flaws in your photo.
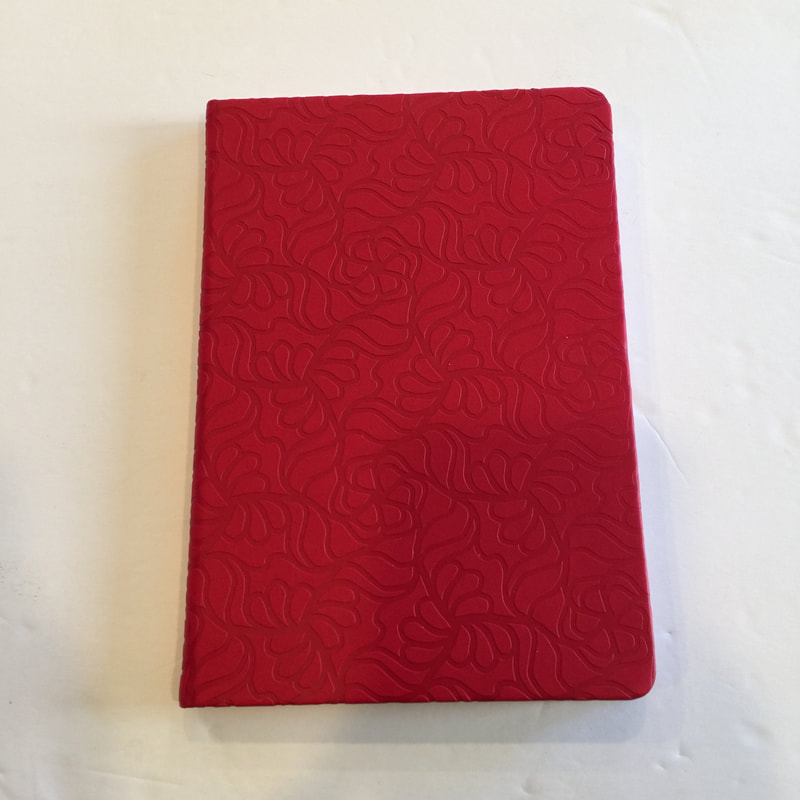
We hope this was helpful. Hop over to MoxieDori on FB and share your before and after photos with the community. We'd love to see! Before and After
 Comments are closed.
|
FollowIndex
September 2023
|


 RSS Feed