|
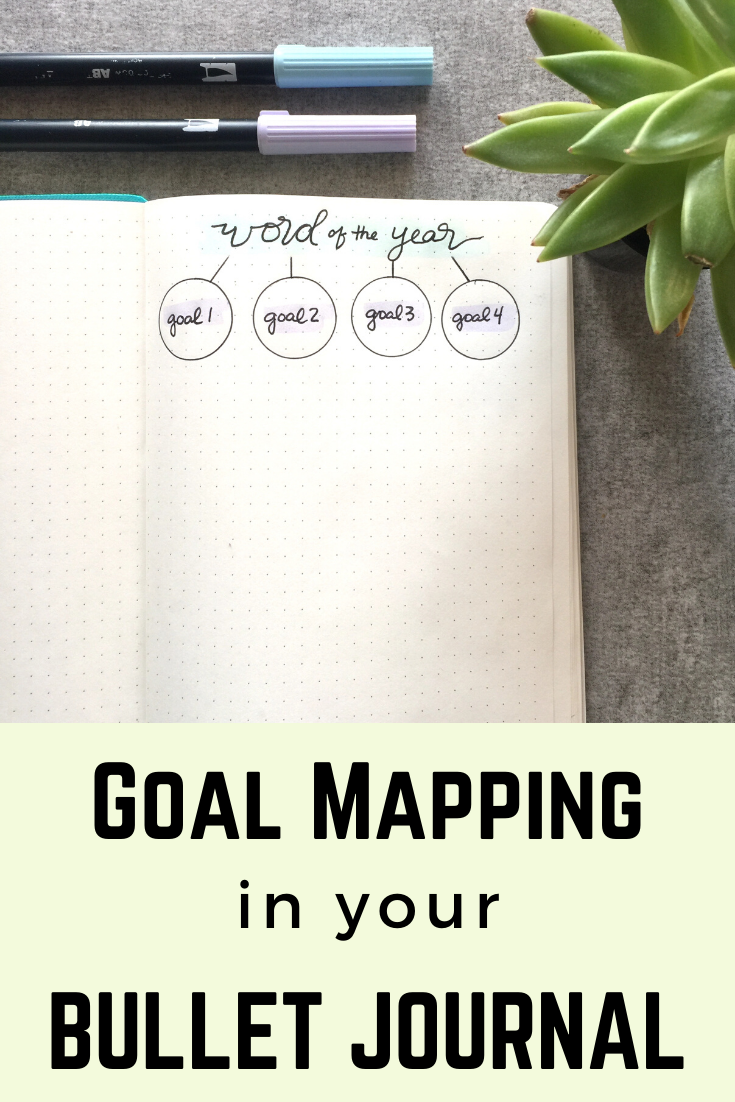
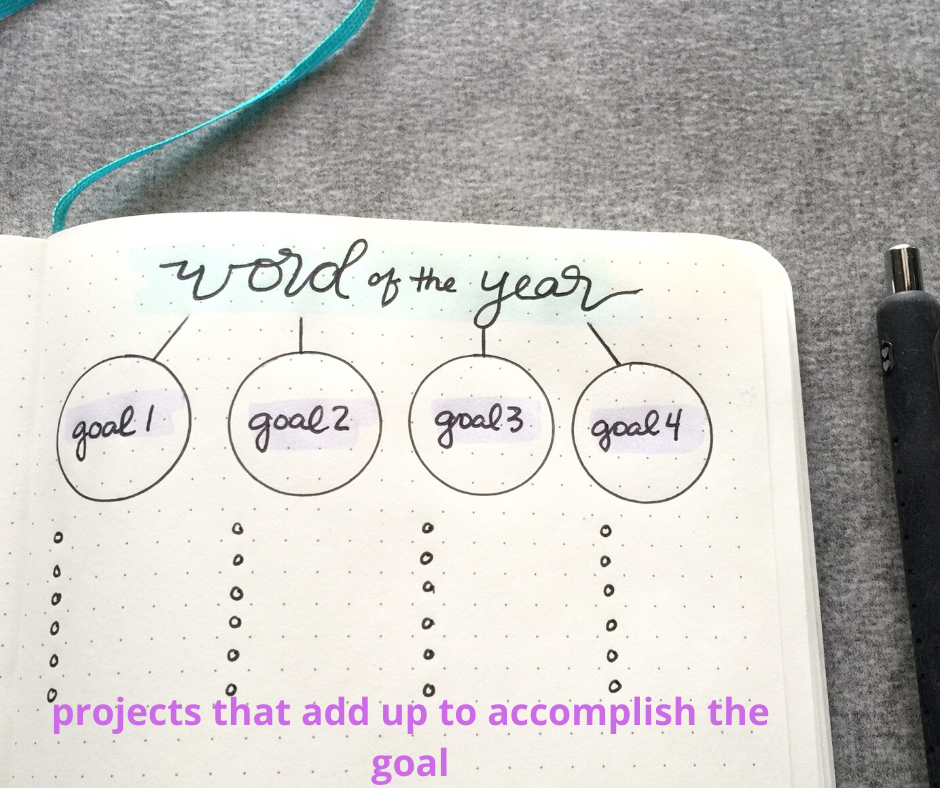
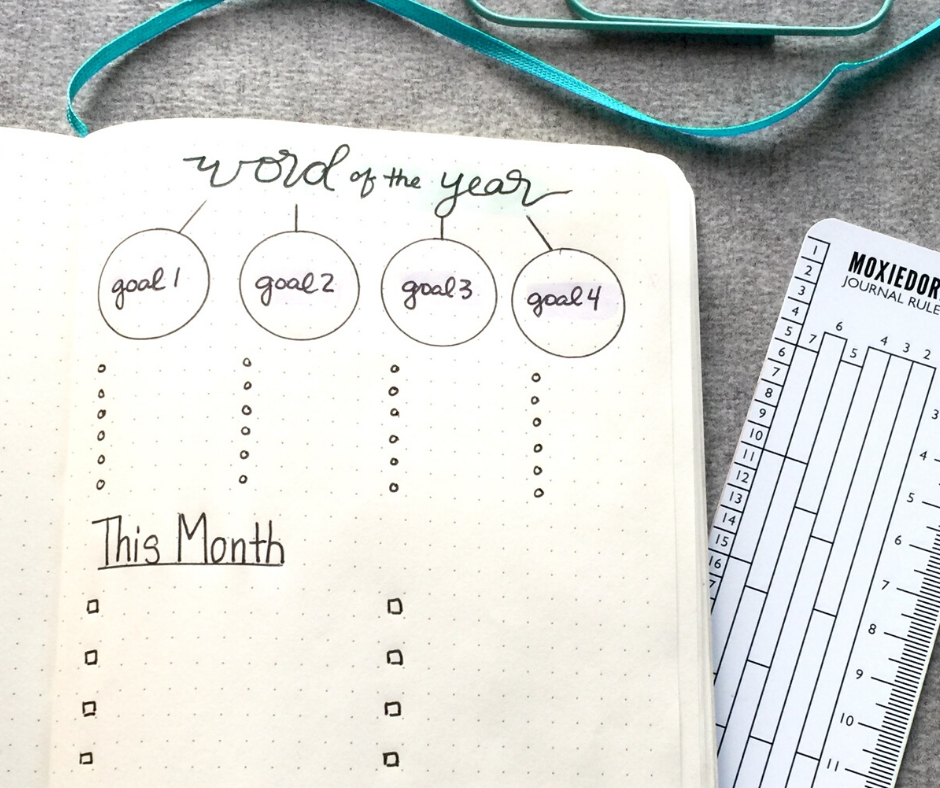
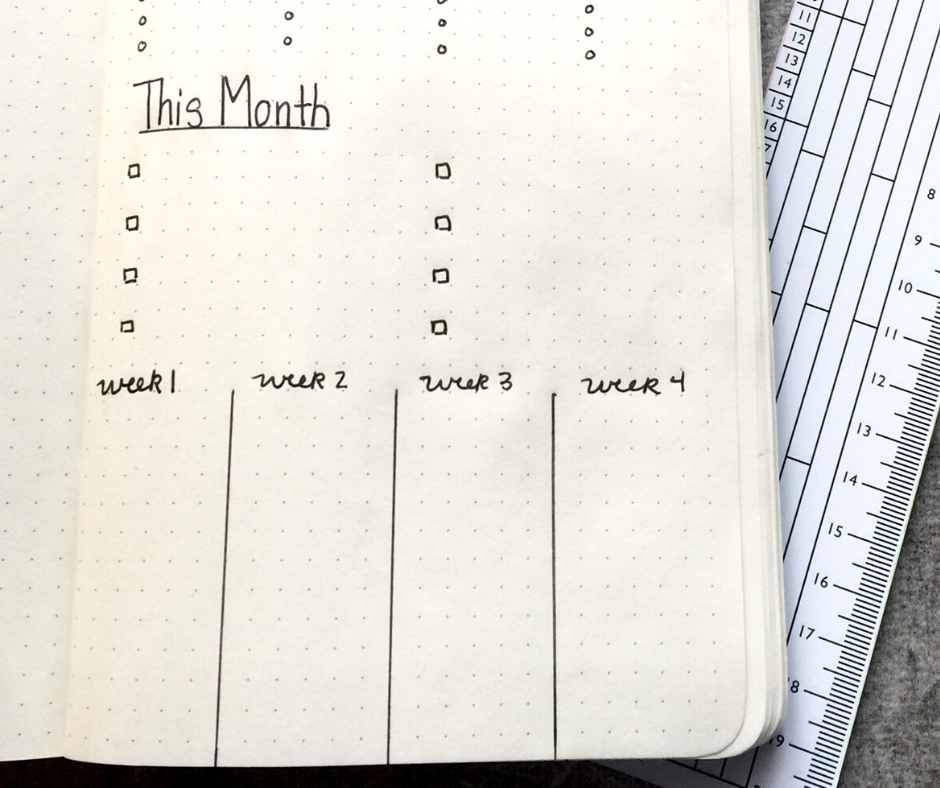
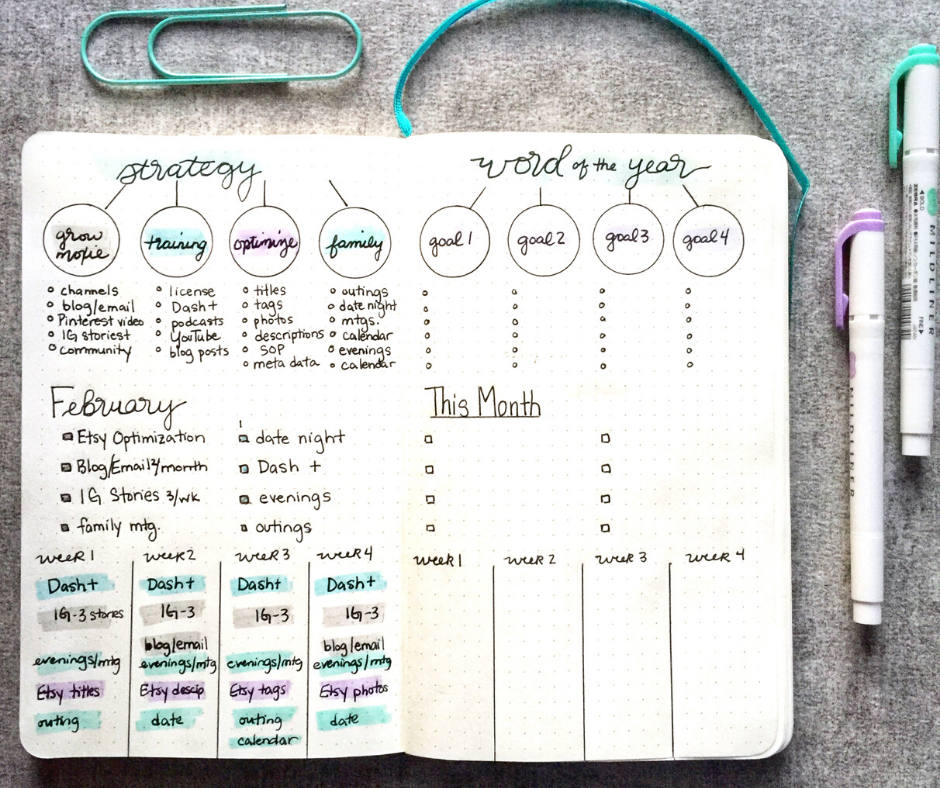
Happy New Year! Fresh bullet journal, fresh you, fresh goals - it's invigorating, isn't it? You've decided on your word of the year so now what's next? Not sure how to connect your big intention with your goals and projects? You are in the right place. We are going to backwards design your goals, projects and action steps based on your word of the year for 2020. Let's do this thing. Pick your GoalsOnce you have decided on your word of the year, think of three or four big goals you want to work on to manifest your word. These goals can be personal or professional or a mix of both. For example, my word of 2019 was, "Me." Yep - just "Me." After dropping out of my career for 10 years to nurture my children, it was time to get back to the old me. (The new, old me, of course.) My top three goals that would bring me closer to my old self were: 1. Get comfortable in my own skin. 2. Facilitate the independence of my children. 3. Take a more active role in the success of my business. Brainstorm ProjectsAfter I identifying your three main goals, think of projects to accomplish those goals. For my goal "Get comfortable in my own skin." My projects looked like this: Get a check up. (for the first time in a decade), get an eye exam. (also first time in a decade), lose 15 pounds, invest in a few pieces of clothing not found at Target, walk the dog an hour a day, do something different with my hair, paint my nails more often, etc. What projects need to be worked on to make progress in your goals? Monthly Project PlanningWhen working on your monthly layout, go back to your list of projects. Which projects do you want to work on this month? Which projects fit with the weather, your current state of mind, or current level of ambition? Choose a few projects - a balance of personal and professional. Think about the amount of action steps each project will take and be realistic and kind to yourself. Some projects will need daily attention and others will need to be worked once or twice per week. Create a mix of projects that compliment each other. Be sure to not work so many that you become overwhelmed. It's better to undershoot, feel accomplished and add more later. Weekly Project TasksNext consider the action steps you need to take to accomplish the projects you chose for a particular month. Create a draft of your weekly schedule of tasks that will progress you toward results. For example, to facilitate the independence of my children, I scheduled to teach my son how to cook one new dish per week. I also scheduled a weekly family meeting where we all decide what we want to do on the weekend, what home tasks we need to accomplish and what engagements we have coming up. Each Sunday I scheduled for the kids to put away their laundry, clean out their mudroom lockers and empty out their backpacks that were still full from Friday. As you can imagine not everything went perfectly but progress was made. Tasks + Projects + Goals = Word of the YearSo from the bottom up, weekly tasks add up to projects. Projects add up to goals. Goals add up to your word of the year. Each month you can choose which projects to work on. By the end of the year, enough action steps will be completed to achieve the transformation and results you seek.
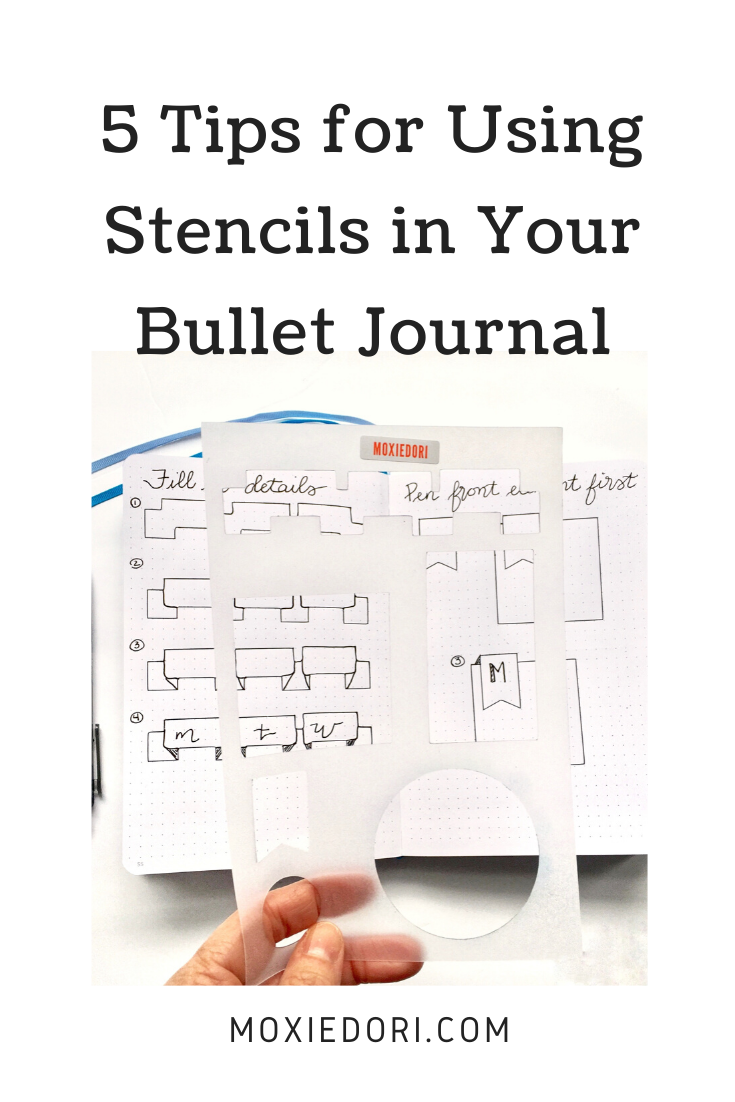
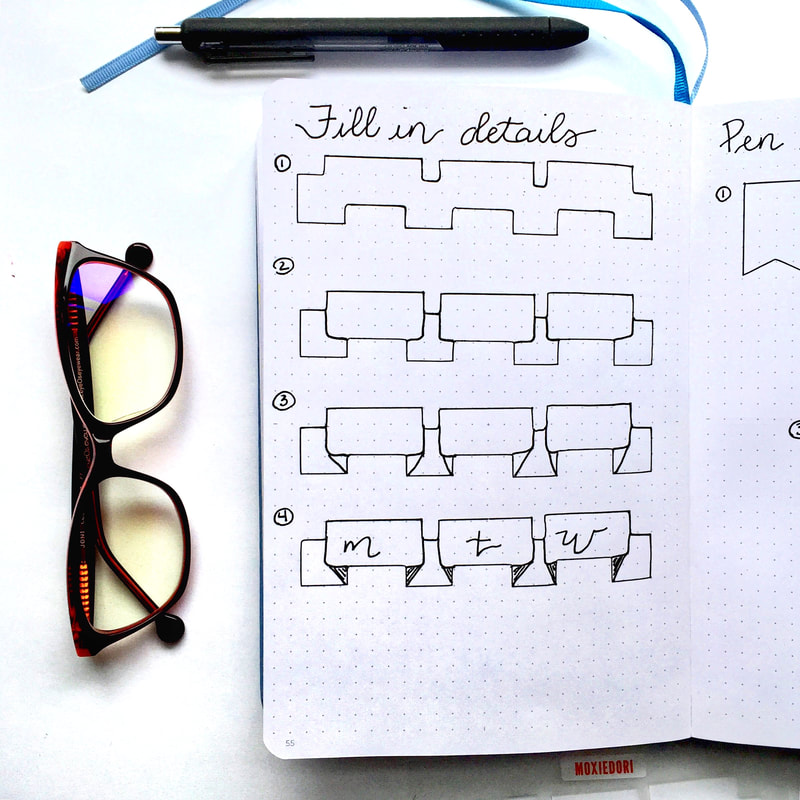
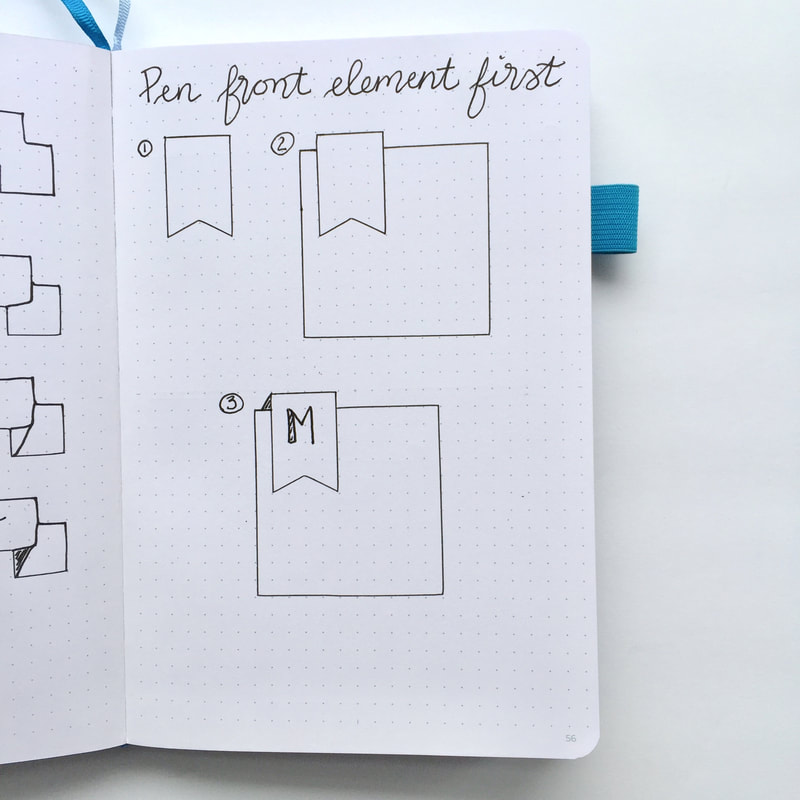
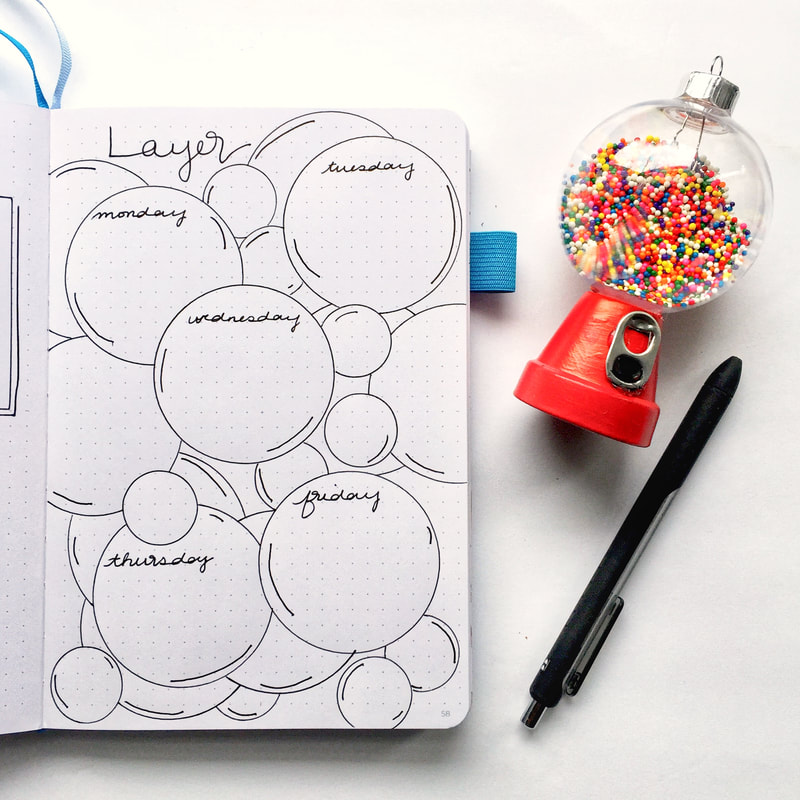
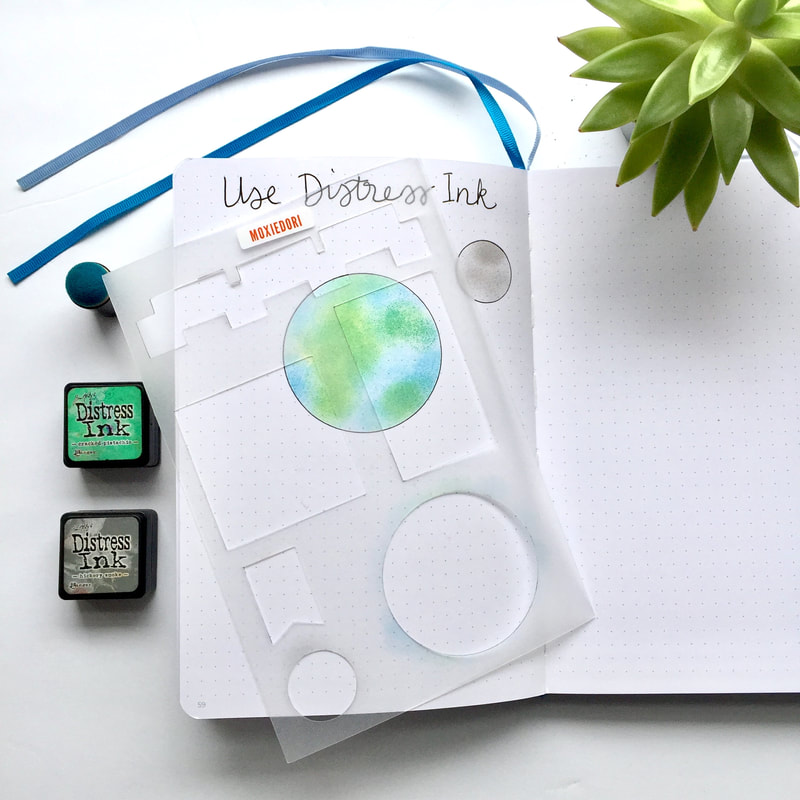
If you liked this and would like to join our newsletter for more bullet journaling ideas, please head over to moxiedori.com and sign up. Love stencils but not exactly sure how to use them in your bullet journal? Here are 5 simple tips for getting the most out of your bullet journal stencils. 1. Fill in the DetailsStencils are made up of the negative space of the element. In order to make the elements come to life, you need to fill in some details. Find an example of the element you're working on and copy it. If you're looking for ideas, the MoxieDori Instagram account has tons of examples for you to follow. This horizontal ribbon element can be found on the Vertical Weekly Stencil. 2. Pen the front element first.When you are creating a layered element, imagine which part of the drawing is at the forefront. Draw that part first. After that, draw the portion in the background, stopping when you reach the element in the foreground. Add shading and voila! 3. Drop ShadowAdd some dimension to your layouts with a drop shadow. This is super simple to do with a stencil. Simply pen the element on your page and then shift the stencil to the right and down just a titch. Draw a "shadow" of the right and bottom sides of the element. Connect the two lines with diagonal shading lines. The element appears to be 3D. 4. Layer ElementsLayering stencil elements is another way to create dimension in your layouts. Pick which elements you want to exist in the foreground of your layout and pen them in first. Tuck another layer of elements behind and maybe even another layer behind that one. Easily create fun layouts with depth and visual interest using just one or two elements on the stencil. 5. Use Distress InkAdd color to your layouts using Distress Ink or a damp cosmetic wedge and watercolors. Daub the colors on the page using the stencil as a masque. When color is complete, outline in black pen. The effect is super impressive yet it is so fast and simple. The Vertical Weekly Stencil has basic elements that create a cohesive weekly layout in an A5 journal. If you're looking for more bullet journaling inspiration, head over the Bullet Journaling Tips and Tricks on Facebook. MoxieDori hosts a supportive, kind and creative group of over 22,000 bullet journalists. We'd love to see you there!
|
FollowIndex
September 2023
|
Shop MoxieDori for journal stencils, tracing cards, tabs, rulers, & supplies!
© COPYRIGHT 2022. ALL RIGHTS RESERVED.
|
Find Your Next Bujo Essential! |


 RSS Feed